


Many developers choose serverless architectures because they allow for faster development, greater scalability, and greater flexibility. This saves a lot of development time, setup, and deployment. In typical serverless computing, a platform or vendor provides all the backend services as needed by any project, eliminating the need for server management and set-up. Additionally, adjustments can also be made on the fly, improving scalability even further.
Slicknode is a GraphQL CMS solution that lets you create an easy, custom backend for your application. Slicknode provides a headless (command-line) interface for the quick creation and deployment of your GraphQL APIs. This helps us skip the bottlenecks associated with traditional backend development as you just need to create modules and model your schema according to your needs.
The good thing is that Slicknode runs on serverless infrastructure where all your backend can be managed on the Slicknode Cloud console. Reusability of each module ensures you never have to reinvent the wheel, making scalability seamless.
Modules on Slicknode
Modules on Slicknode are the top-level building blocks of your project. They let you organize your project in a way that allows reusability even across multiple projects. Let us illustrate how we can install custom modules and deploy an API to the Slicknode cloud by using this example project.
Modules can be built-in from the Slicknode CMS or custom-created, both using specific commands from the CLI. An example blog project would be used to illustrate this.
Getting Started with Slicknode:
Firstly, we would install the latest version of Slicknode Globally by running the command mentioned below:
npm i -g slicknode
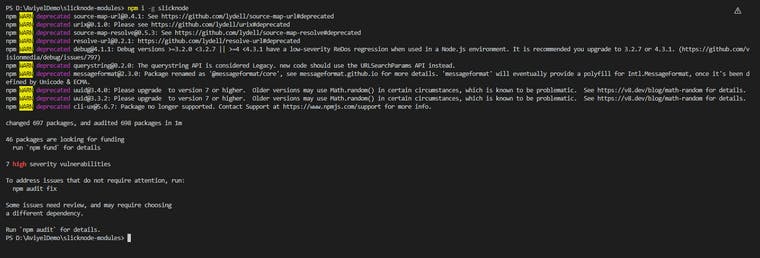
Run the following command in your terminal to see if your Slicknode application is up and running.
slicknode

Now, run the version command, which would output the current version installed.
slicknode --version

Let's go on to creating a new Slicknode project.
Setting up a new slicknode project
You must first initialize slicknode before you can begin constructing your project. To do so, type the following command into your terminal. So, we'd name our blog slicknode-blog and start working on it. Your project can be given whatever name you like.
slicknode init slicknode-blog
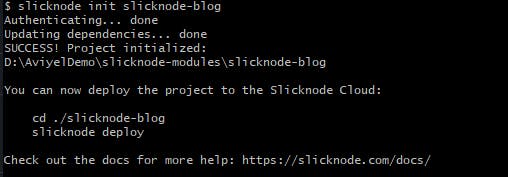
This command will establish a new slicknode project, which may take some time to complete.
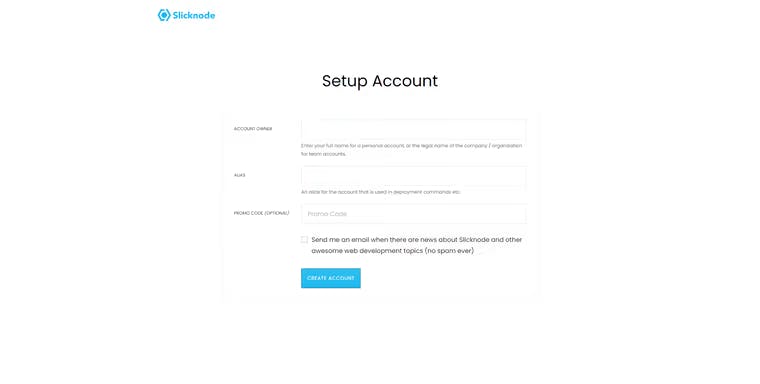
For the first-timer, You'll very certainly be taken to the slicknode signup page, where you'll be asked to register an account. Create one and move on to the next step.
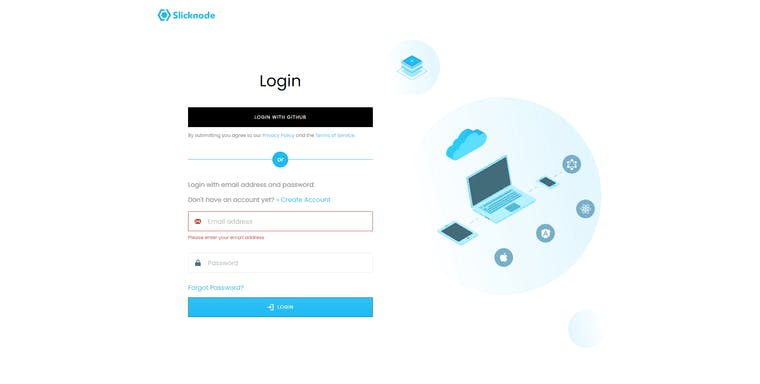
To sign in to my account for this tutorial, I'll be using GitHub, so follow along if you're planning to do the same. You'll then be requested to provide some personal information after you've authorized your Github account.
After that, you'll be asked if you wish to grant access to your computer in order to start the slicknode project; simply click Grant Access.
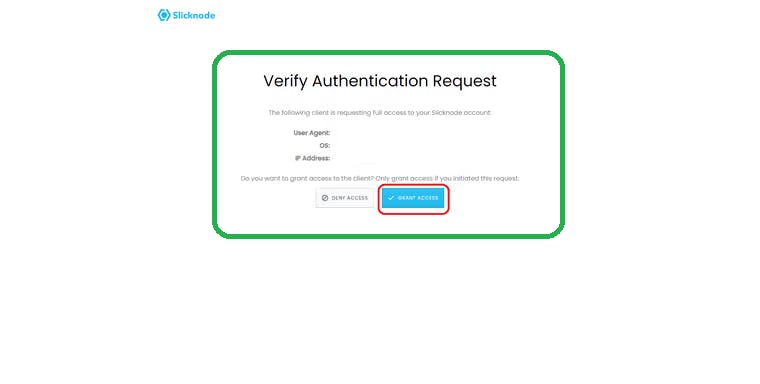
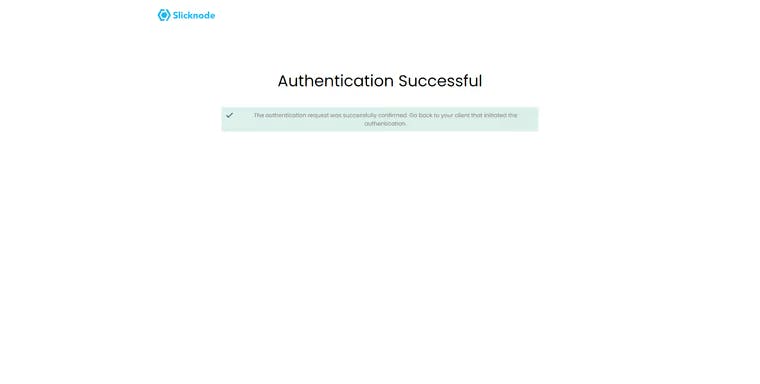
Finally, if all of the procedures were followed successfully, you should see something similar to this.
Finally, your folder structure should look something like this.
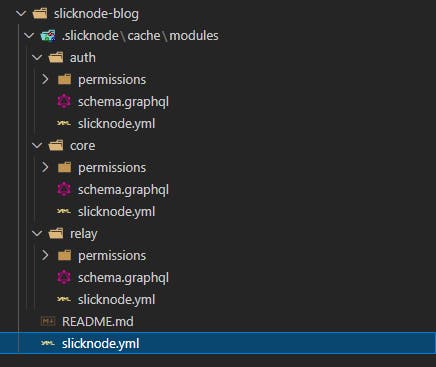
The slicknode.yml contains all the defined and installed modules of the project. It is located in the root directory, any module installed or created would automatically appear in this file. The .slicknode folder on the other hand contains the cached modules of the project configuration and should not be edited manually.
Setting up Modules
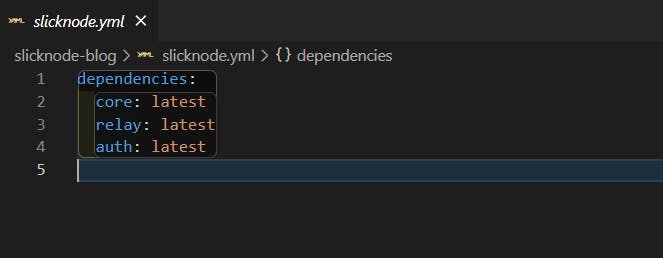
Modules can be built-in or created depending on the need. Slicknode offers built-in modules that provide basic functionality to your project. The slicknode.yml file contains all the modules required for our project. Initially, it will look like this:
Basic functionalities for our Slicknode project are contained in these three modules. Using the module add command, we may create new modules. In this case, which is a blog, we would install the content and image modules by running the command below which will add two built-in modules named image and content.
slicknode module add image content

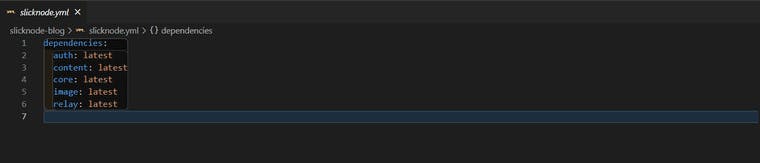
Your slicknode.yml file should look like this after you've added those modules:
dependencies:
  auth: latest
  content: latest
  core: latest
  image: latest
  relay: latest
The installation of these modules means that our blog now has support for images as well as versioning, publishing of contents. Therefore, types can be created for these functions.
Crafting a custom module
You can add custom functionality to your project by simply creating custom modules which define such features, this assumes that there is no module available to meet the requirement.
In this blog project, we would create a custom module called “blog”.
slicknode module create blog
The command line would require you to enter a namespace and label values which would appear in the admin interface. You can use the default value of “Blog” by pressing “Enter” or rather entering the custom namespace of the module. The namespace would be prepended to every type of module.
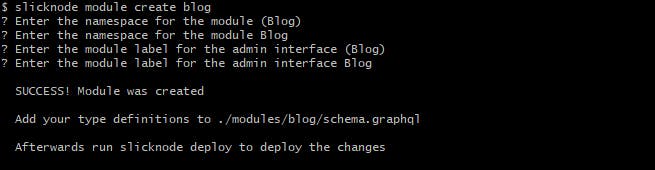
GREAT SUCCESS!
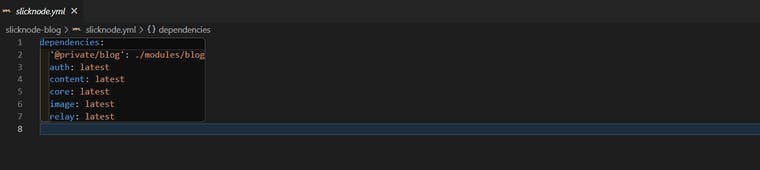
Our newly created module should appear in our slicknode.yml file as shown below:
dependencies:
  '@private/blog': ./modules/blog
  auth: latest
  content: latest
  core: latest
  image: latest
  relay: latest
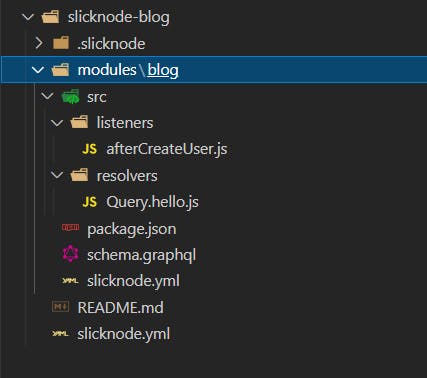
As you can see, a new directory named modules has been generated and inside it there is a folder named blog, which contains a folder named src as well as three files named package.json, schema.graphql, and slicknode.yml.
Defining Your GraphQL Schema Data
Now we need to define the schema of our GraphQL API which contains the data and their types just according to the project requirements. We do this using the GraphQL Schema Definition Language (SDL).
Since the schema is part of the blog module, we have to add it to the schema.graphql file which is right inside the blog/ folder. The schema defines the data model of our API, and then Slicknode uses the data model to make CRUD mutations, pagination, categorization etc to our API.
A basic schema would be defined for our blog project, then right inside our schema.graphql file, we would post the schema shown below:
type Blog_Article implements Node & Content {
  id: ID!
  title: String!
  slug: String! @unique
  mainImage: Image
  text: String! @input(type: MARKDOWN)
  category: Blog_Category!
}

type Blog_Category implements Node {
  id: ID!
  name: String!
  slug: String! @unique
}
To check if your schema and configuration is error-free, run the following command.
slicknode status

Deploying Your API to Slicknode Cloud
We'll use the following command to make our local change consistent with the remote change:
slicknode deploy
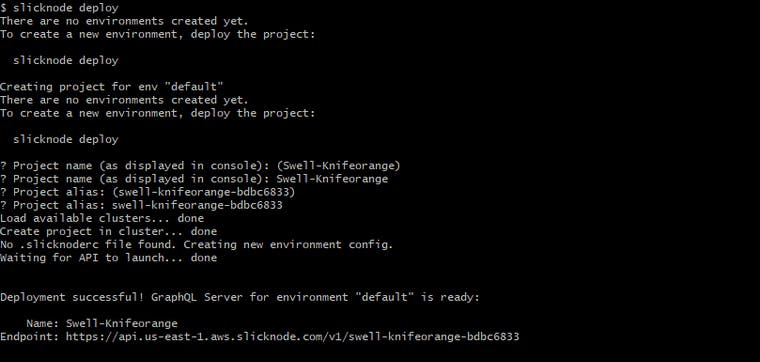
The above command will build our project in the cluster, then establish a new environment config-if one isn't already there, launch the API to the cloud, and set up the GraphQL server if one isn't already there. We can now use the following command to get to our Slicknode console.
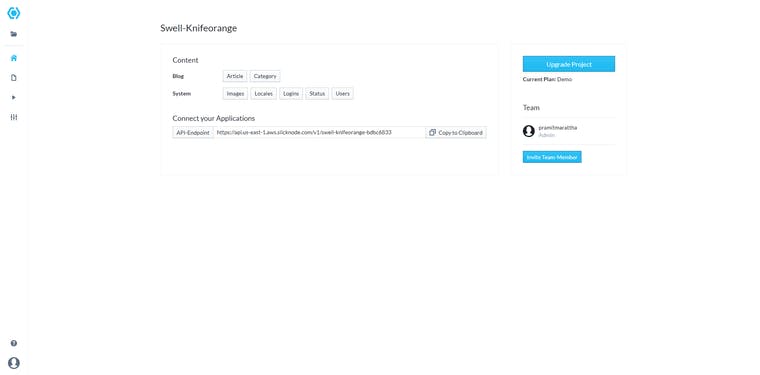
slicknode console

This would deploy the API live in the Slicknode console. The final page looked like this:
That’s it, folks!
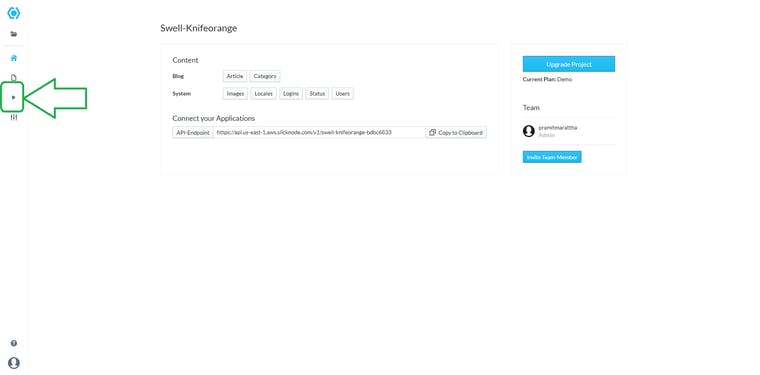
There is much more you can do with Slicknode, you can query your GraphQL API by navigating to the Playground tab or running the following command.
slicknode playground
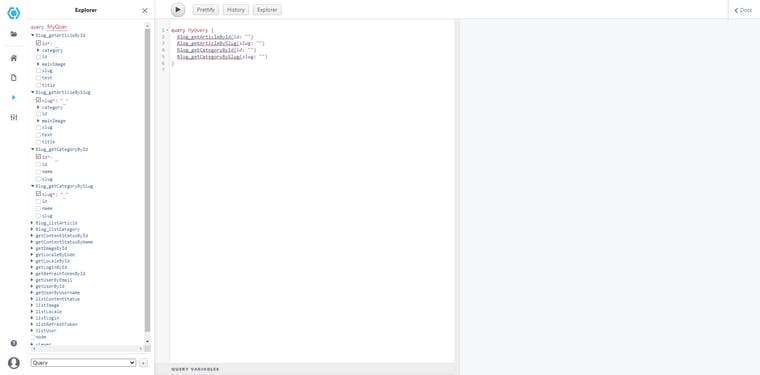
Contents can be uploaded on the console and tested on the playground to see outputs.

By clicking the Explorer button, you can quickly build your queries and run them to see the information displayed.
Full documentation of Slicknode can be found here.
GraphQL clients like Apollo can be set up with Slicknode easily, to connect and display data to the frontend of your project.
I'm EO and I write on frontend development and technology in general.
Kindly follow me on Twitter. Until next time, happy coding!